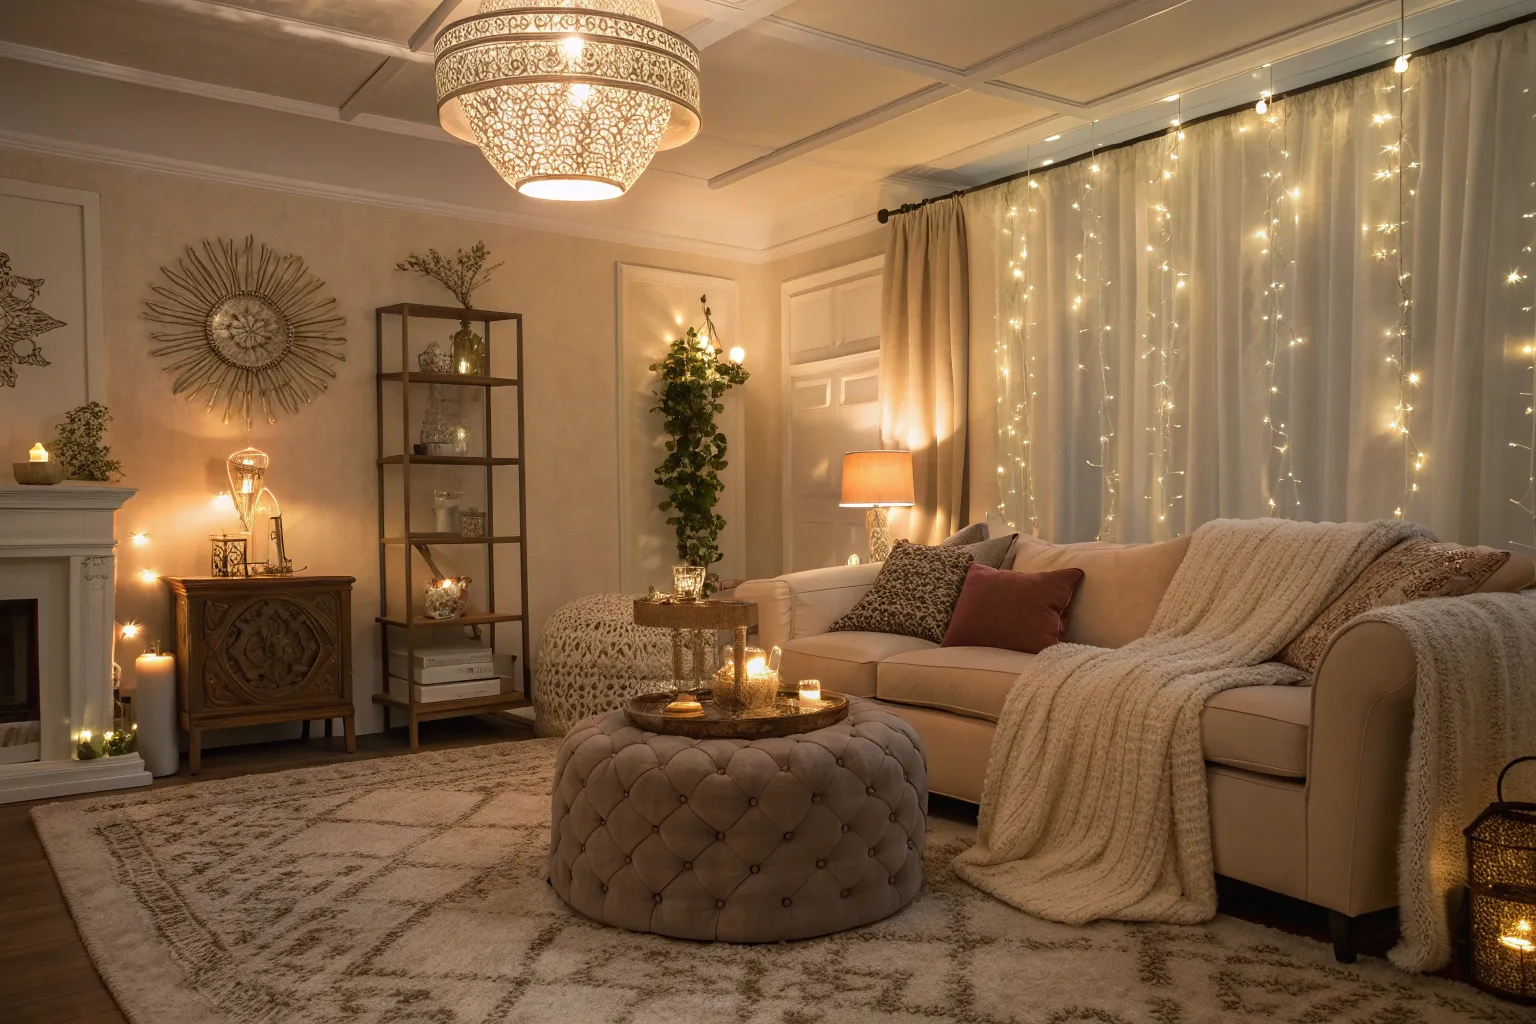
Small changes can revolutionize your living space more effectively than major renovations. After transforming countless living rooms, I’ve discovered that strategic adjustments create dramatic visual and functional improvements while respecting your budget and time constraints.
1. Layer Your Lighting to Transform Ambiance
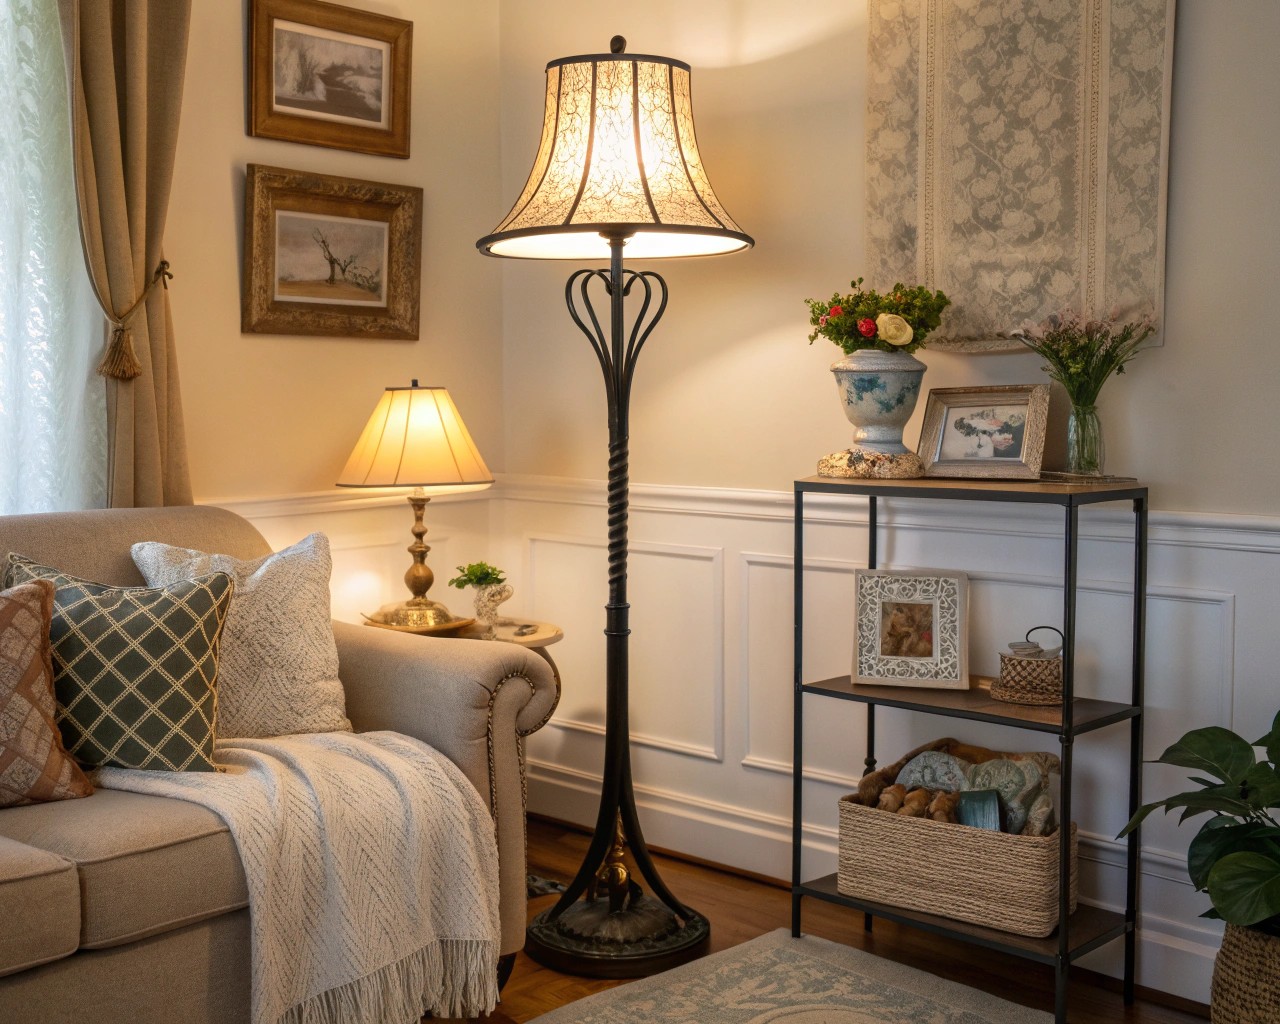
Lighting fundamentally alters how you experience your living room. Most spaces rely too heavily on overhead fixtures, creating harsh shadows and flat illumination.
The Professional Approach:
Implement three distinct lighting layers: ambient lighting provides overall illumination, task lighting supports specific activities like reading, and accent lighting creates mood and highlights architectural features. Position table lamps at varying heights, add floor lamps in dark corners, and consider wall sconces to eliminate shadows.
Quick Implementation:
- Replace overhead bulbs with warm 2700K LED options for evening relaxation
- Add two table lamps at different heights on opposing sides of the room
- Install dimmer switches to control brightness throughout the day
I’ve consistently found that rooms with layered lighting feel 30% larger and significantly more welcoming than those relying on a single light source.
2. Master the Art of Throw Pillow Arrangement
Throw pillows serve as the living room’s jewelry—small elements that create sophisticated visual impact. The key lies in strategic color coordination and varied textures.
The Formula That Works:
Start with your room’s dominant color as an anchor, then introduce one accent shade and one neutral tone. Mix three different textures: one smooth fabric, one with visual pattern, and one tactile element like velvet or bouclé.
For a three-cushion sofa:
- Use five pillows total: two matching anchors, two coordinated accents, one statement piece
- Vary sizes between 20-inch, 18-inch, and one lumbar pillow
- Position pillows asymmetrically for modern appeal
Pro Tip: Seasonal pillow changes require minimal investment while refreshing your entire space—light linens for summer, rich velvets for winter.
3. Right-Size Your Area Rug
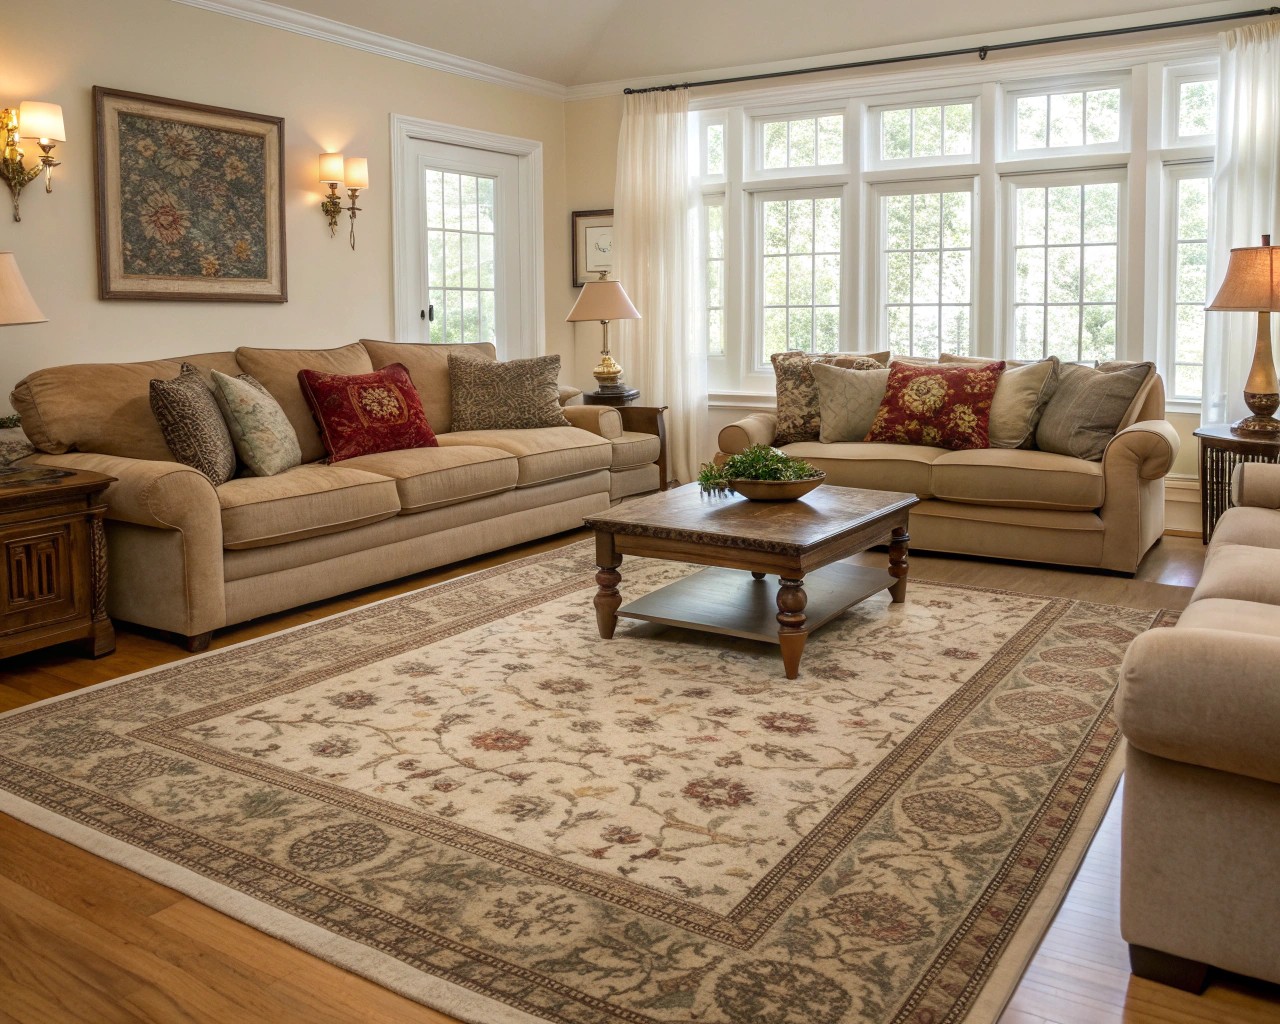
Incorrectly sized rugs visually fragment living rooms, making spaces appear smaller and furnishings disconnected. Professional designers follow specific proportional guidelines.
The 8-Foot Rule:
Your sofa and primary seating should maintain approximately 8 feet between pieces for optimal conversation distance. Your rug must accommodate this measurement.
Proper Sizing Guidelines:
| Room Size | Rug Size | Furniture Placement |
|---|---|---|
| Small (10×12 ft) | 8×10 ft | Front legs on rug |
| Medium (12×15 ft) | 9×12 ft | All legs on rug |
| Large (15+ ft) | 10×14 ft or larger | All furniture on rug |
Position your rug with 18-24 inches of floor space between the rug edge and walls. This creates visual breathing room and makes your space appear larger.
4. Create a Strategic Accent Wall
Paint represents the highest impact-to-cost ratio in interior transformations. Rather than painting entire rooms, strategic accent walls draw focus and add architectural interest.
Wall Selection Strategy:
Choose walls that naturally draw attention: behind your sofa, featuring a fireplace, or framing your television. Avoid walls with multiple doorways or windows, which fragment the visual impact.
Color Psychology in Action:
Deep navy creates sophisticated intimacy in larger spaces, while sage green promotes tranquility in high-stress environments. For small rooms, cool colors like soft blues visually recede, creating spaciousness.
Professional Application:
Use premium paint in eggshell or satin finish for durability and subtle light reflection. I recommend testing colors in different lighting conditions—morning natural light, afternoon sun, and evening artificial illumination—before committing.
5. Optimize Furniture Arrangement for Flow
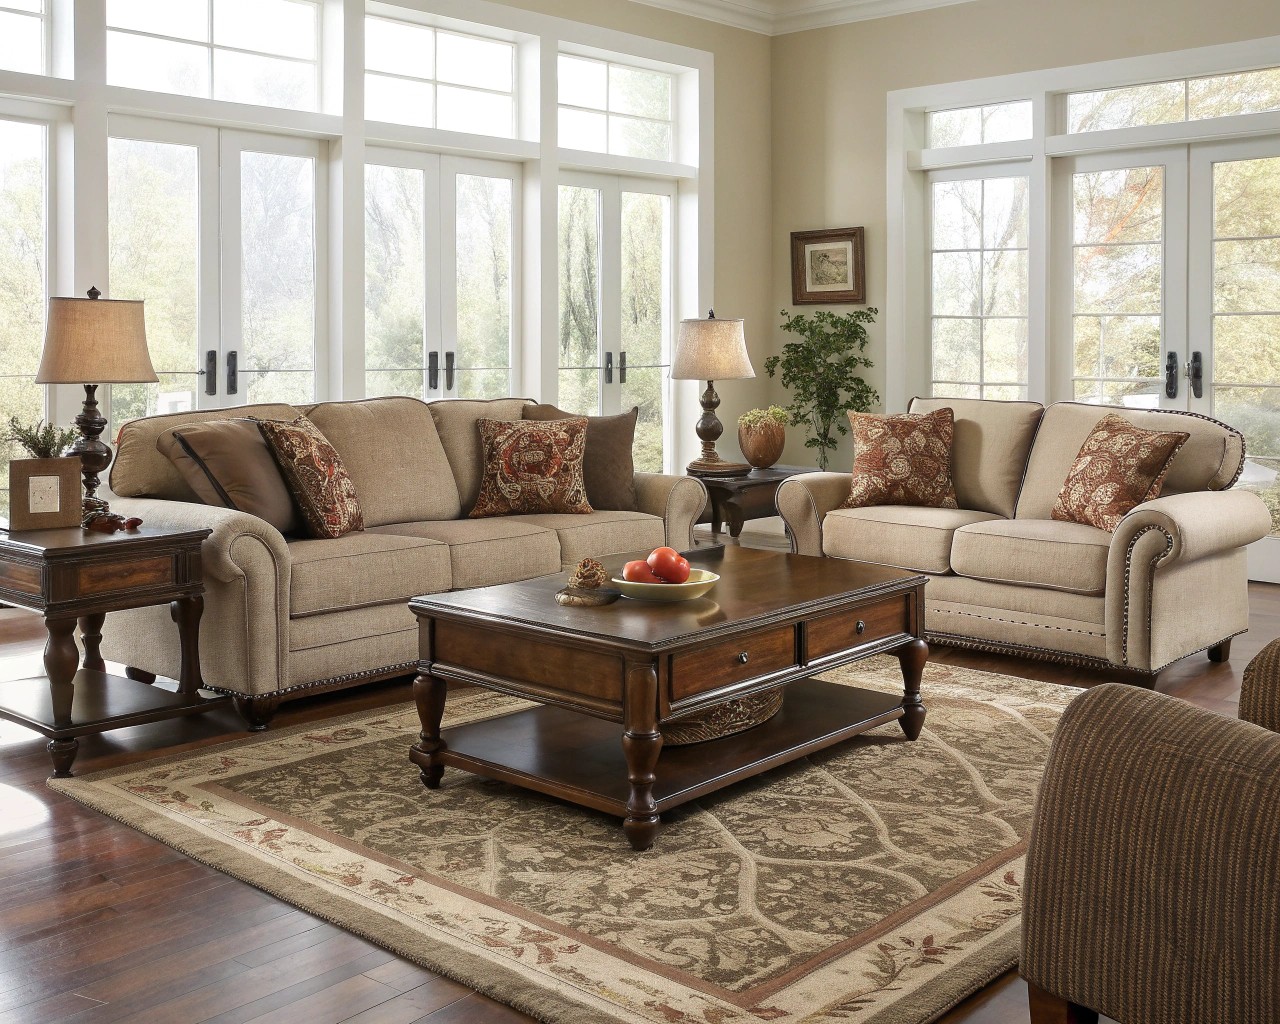
Most living rooms suffer from “wall-hugging syndrome”—furniture pushed against perimeters, creating awkward conversation distances and underutilized central space.
The Professional Layout Principles:
Create conversation zones with seating positioned 6-8 feet apart maximum. Pull furniture 12-18 inches from walls to establish intimacy and improve traffic flow. Angle chairs slightly toward the sofa rather than positioning them rigidly parallel.
Traffic Pattern Optimization:
Maintain 36-inch pathways for primary circulation and 24-inch clearances for secondary movement. Position your coffee table 16-18 inches from seating—close enough for functionality, distant enough for comfortable leg extension.
Zoning for Multi-Function Spaces:
In dual-purpose rooms, create distinct zones using furniture placement rather than room dividers. Position your desk area near windows for natural task lighting while maintaining the conversation area’s central focus.
6. Harness the Power of Strategic Mirror Placement
Mirrors function as architectural elements that manipulate light and spatial perception. Proper placement creates the illusion of expanded square footage and enhanced brightness.
Light Amplification Techniques:
Position mirrors perpendicular or opposite to windows—never directly across, which creates uncomfortable glare. Large mirrors placed behind seating areas suggest infinite space continuation, while smaller mirrors in dark corners redistribute available light.
Scale and Proportion Rules:
Floor-to-ceiling mirrors work exceptionally well in narrow spaces, visually stretching dimensions. For living rooms, mirrors should occupy 1/3 to 1/2 of their wall space to achieve proper visual weight.
Frame Considerations:
Frameless mirrors or frames matching wall color create seamless spatial expansion, while contrasting frames function as decorative focal points.
7. Implement Smart Storage Solutions
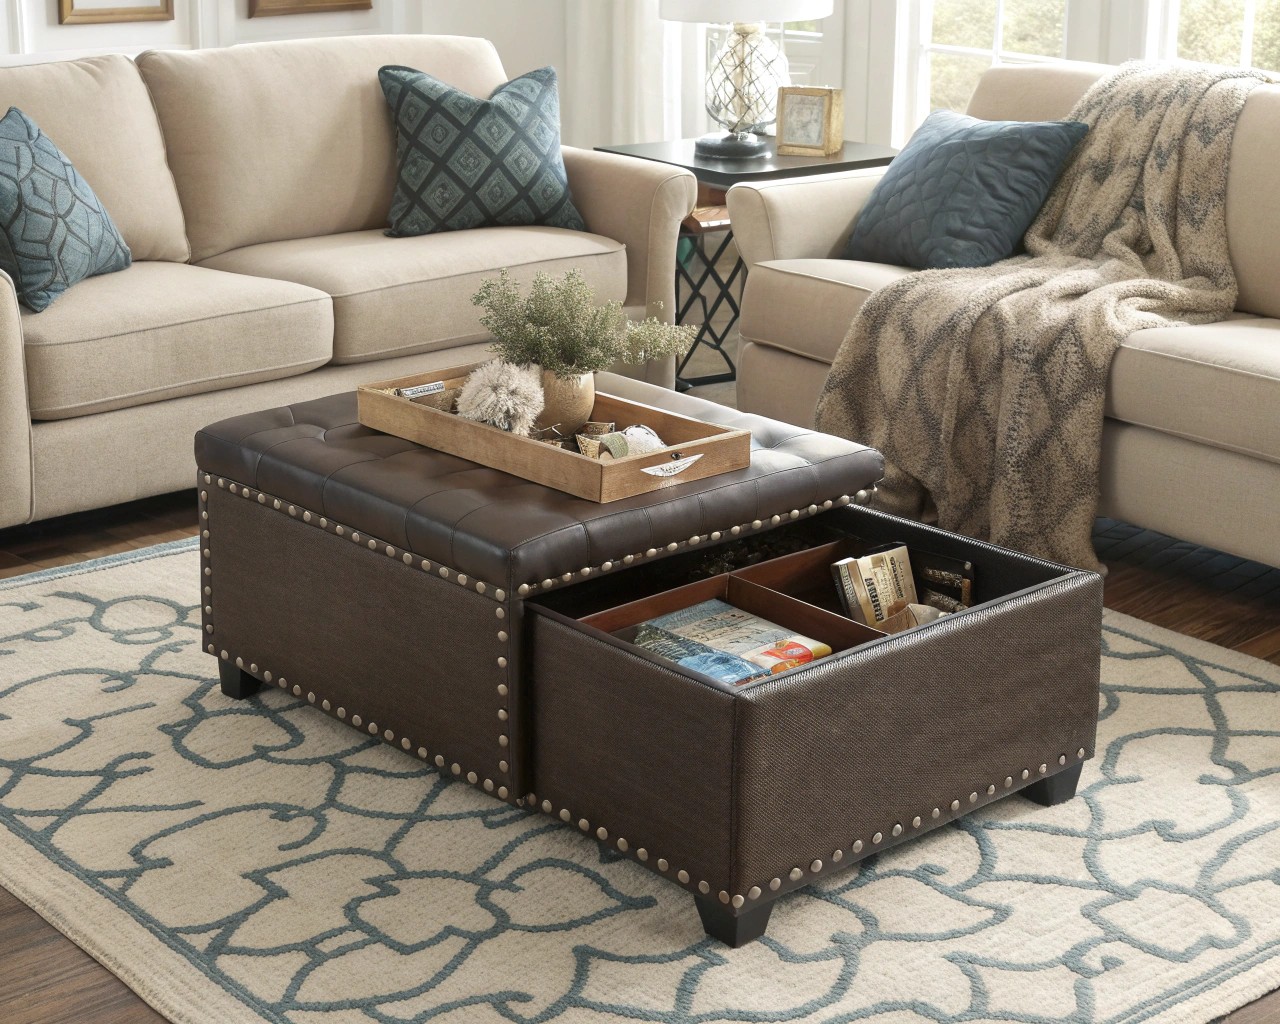
Clutter visually reduces room size by creating visual chaos. Professional organization focuses on maintaining clean sight lines while providing accessible storage.
Hidden Storage Integration:
Choose furniture that multitasks: storage ottomans, lift-top coffee tables, and console cabinets with internal organization. These pieces eliminate visible clutter while maintaining your room’s aesthetic integrity.
The 80/20 Organization Rule:
Store 80% of items behind closed doors, displaying only 20% for visual interest. Use decorative baskets for remote controls and charging cables, floating shelves for books, and built-in cabinetry for electronics.
Daily Maintenance Systems:
Assign specific homes for frequently used items. I recommend a “10-minute reset” routine each evening: return items to designated locations, fold throws, and arrange pillows.
8. Introduce Air-Purifying Plants
Plants provide dual benefits: enhanced air quality and organic visual texture. NASA research identifies specific varieties that actively remove indoor pollutants while adding natural beauty.
High-Impact Plant Selections:
Snake plants thrive in low light while filtering formaldehyde and benzene. Spider plants excel in bright spaces, removing carbon monoxide and xylene. Peace lilies add elegance while absorbing mold spores and acetone vapors.
Strategic Placement Guidelines:
Position larger plants (snake plants, rubber trees) in corners to define space boundaries. Use medium plants on side tables or plant stands for varied heights. Hang trailing plants like pothos from ceiling hooks to draw eyes upward.
Maintenance for Success:
Choose plants matching your care commitment level. Snake plants require minimal water, while peace lilies need consistent moisture. Wipe large leaves weekly to maintain their air-purifying effectiveness.
9. Control Natural Light with Window Treatments
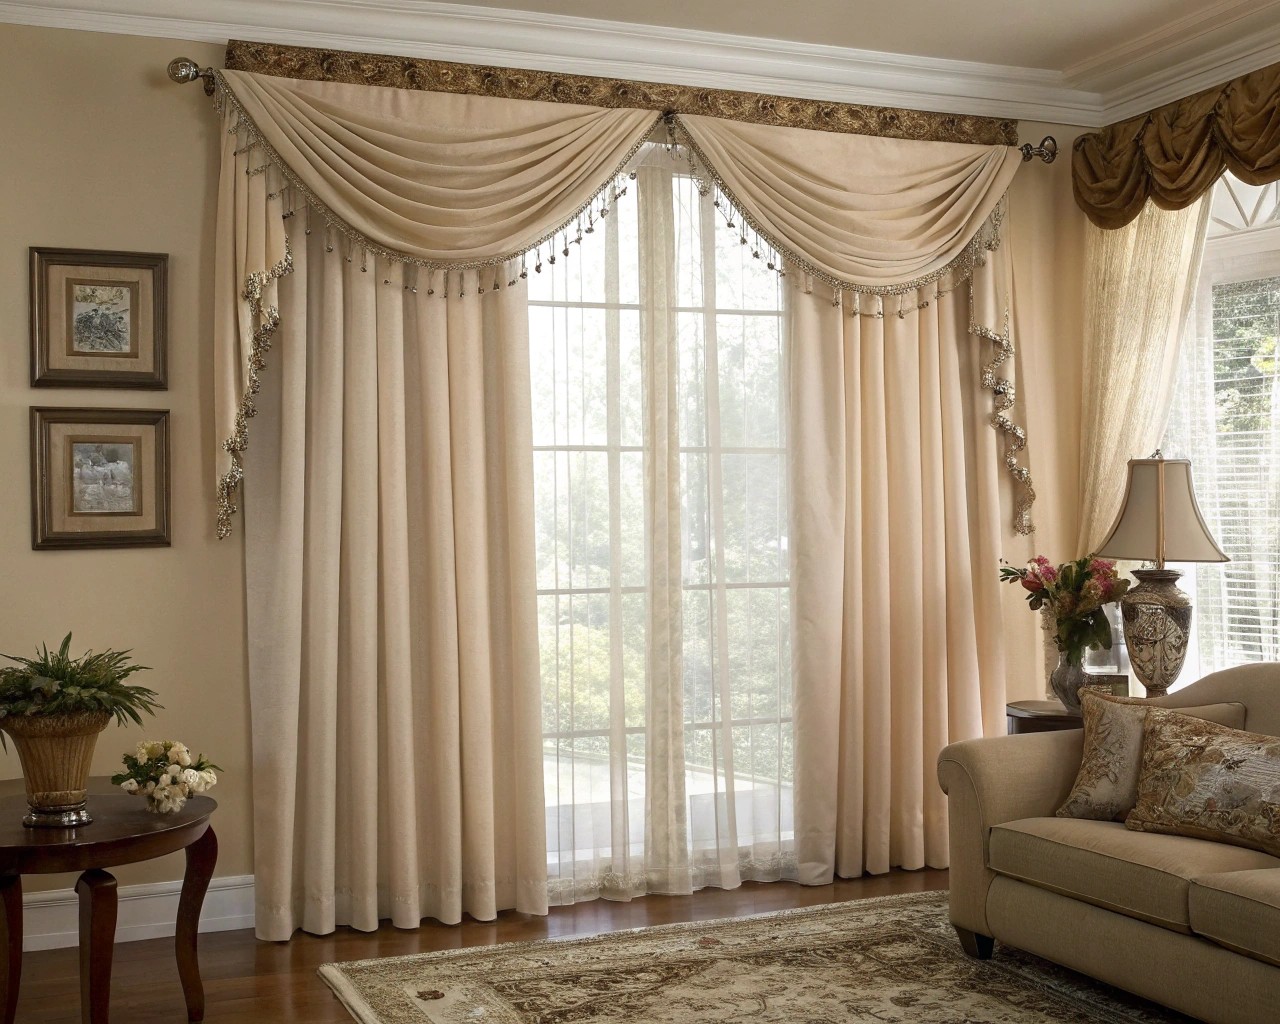
Window treatments significantly impact room ambiance, privacy, and energy efficiency. Professional selections balance light control with aesthetic integration.
Layering for Flexibility:
Combine sheer curtains with heavier panels or blinds, allowing precise light control throughout the day. This system accommodates morning brightness, afternoon glare reduction, and evening privacy needs.
Material Selection Strategy:
| Room Function | Treatment Type | Light Control Level |
|---|---|---|
| Media viewing | Solar shades + blackout panels | High |
| Daily living | Sheer curtains + light-filtering blinds | Medium |
| Formal spaces | Custom drapery + sheers | Variable |
Hardware Considerations:
Install curtain rods 4-6 inches above window frames and extend 6-12 inches beyond each side. This creates height illusion and allows maximum light when panels are open.
10. Curate Your Color Palette
Cohesive color schemes tie disparate elements together, creating sophisticated visual unity. Professional designers work within limited palettes for maximum impact.
The 60-30-10 Rule:
Use your dominant color (walls, large furniture) for 60% of the space, secondary color (upholstery, rugs) for 30%, and accent color (pillows, artwork) for 10%. This creates visual balance without overwhelming sensory perception.
Neutral Foundation Strategy:
Build from neutral bases—grays, beiges, whites—then introduce color through easily changeable elements like pillows, throws, and artwork. This approach allows seasonal updates without major reinvestment.
Testing Color Relationships:
Use the “squint test”: step back and squint at your room. Colors should blend harmoniously rather than competing for attention. Successful palettes create visual flow throughout the space.
Implementation Timeline
Week 1: Address lighting and declutter storage areas
Week 2: Arrange furniture and select area rug
Week 3: Install window treatments and position mirrors
Week 4: Add plants, finalize color palette, and style accessories
These systematic changes transform living spaces through careful attention to proportion, light, and function. Each modification supports the others, creating cumulative impact far exceeding individual investments. The result: a living room that feels both personally authentic and professionally designed.

